Wednesday, November 12, 2014

Mondraker Podium

   Check out this sweet ride from Mondraker: The Podium.


   On paper this is like any other hard tail XC bike - tapered fork, 100mm travel, some code name for hi-mod carbon, PF 30 BB, thru axle in the back. What sets it apart is the styling! Which is very cool. Kind of looks like the Look I wrote about a while back.

Podium

   The company has existed for a decade or so, but recently started making these killer mountain bikes. The first eye catching bike of theirs was the Summom,  a DH bike built in your dreams:

Summom

   The Podium definitely will turn some heads. Here's a couple parting shots.

Stem close up

Chainstays

   Now that your'e all amped up to go ride, take a look at the abysmal forecast for the next week and join me in a collective sigh.

$%&@

Friday, November 7, 2014

Friday WTF: Responsible Listener Edition

   My wife is always telling me I should pay closer attention, or take out the trash, or something I wasn't really listening, but with these bad boys you have no reason not to hear. Enter Cat Ears ear protection.

Slim style

Full coverage mom-pants style

   Try to follow along here an see how they work:

Disembodied ear sold separately 

   Reminds me of 180s, the pinnacle of style in 1992 (for my mom):


Thursday, November 6, 2014

Patio Project part 4 - Pavers (finally)

   As with a lot of projects, preparation is key. Installing the actual pavers took nearly a week, but that was on top of about a month of prep work. That all turned out to be for the better as the pavers went in pretty smoothly. Here is the whole yard with road base spread out:

Calvin and Natalie cameo

   After getting the road base in place, tome for some manly compaction! I rented a plate compactor from Home Depot and got everything flattened and level. Road base compacts really well. I did the edges and stair area by hand with a hand tamper.

Compacted 

   Care to guess how many pavers I used? A lot. Almost 1300. Took about 5 trips with the uHaul trailer. 

1 load of bricks

   We started by laying down some 1" conduit and then putting sand around it. By dragging a 2"x4" across the conduit, we got a nice smooth surface to put the pavers down on. You can see the edging pavers already in place.

The starting corner

   And in go some paver! Once they started going down, it went pretty fast. It was also really rewarding to finally see it happen after weeks of digging.

First pavers going down

   We just worked across the patio like this. Along the edges we cut pavers to match the curves with a paver saw also rented from Home Depot. RIP saw blade. After this project it was pretty much ruined.

Top area almost done

   The bottom area was about the same. Took a day off due to the rain, but that made the road base extra packed, so it was ok. we also went to a brewery to let things blow over which was also ok.

Lower area with sand

Lower area with some bricks laid

   And all done! I was very happy with how it turned out. There was still some little stuff to do, level out some areas that settled and seal the cracks with polymeric sand.


   Threw some furniture on there...

Table and rolling storage thing

   Some seating

Some chairs

   Even some lights for night time!

Mood lighting

   That's about it for this project. I'm really happy with how it turned out, but man was it a lot of work! Once the weather changes back to warm and light out, com on over and enjoy a BBQ with us!

Wednesday, November 5, 2014

Patio Project Part 3 - Sandbox

   So we planned this patio with hot tubs, and bar-b-ques and chairs - but what is in it for the kids? A sandbox, naturally! My sister commented once how much her kids loved to play in the sand, so we decided to integrate a sandbox into the patio. First things first, laying out the shape:

Leveling it out

   I used cinder blocks for the sandbox because they create a cleaner edge than the red blocks. You can see where I worked around the fence post on the right of this image:

From the top

   I had the blocks stacked two high on one side where the patio was lower. I used a hand tamper to compact the dirt in the sand box.

Compaction!

   Above you can also see how I laid out some blocks around the edge of the lower part of the patio to see how the whole thing would be shaped.
   I saw an interesting idea on reddit of a guy stamping dinosaur shapes into the sandbox bottom for his kids to find. His was really well done and looked like a real dinosaur. Mine, not so much. But there will be stuff for the boys to find if they dig to the bottom of the sand box:


   We had some leftover paint form the wall mural (more on that project to come) that I used to spruce up the stamps a little. I also left the middle open so the sandbox would drain if it rained a lot.

Colored stamps

Calvin approves!

Tuesday, November 4, 2014

Paver patio part 2 - Planning and Blocks

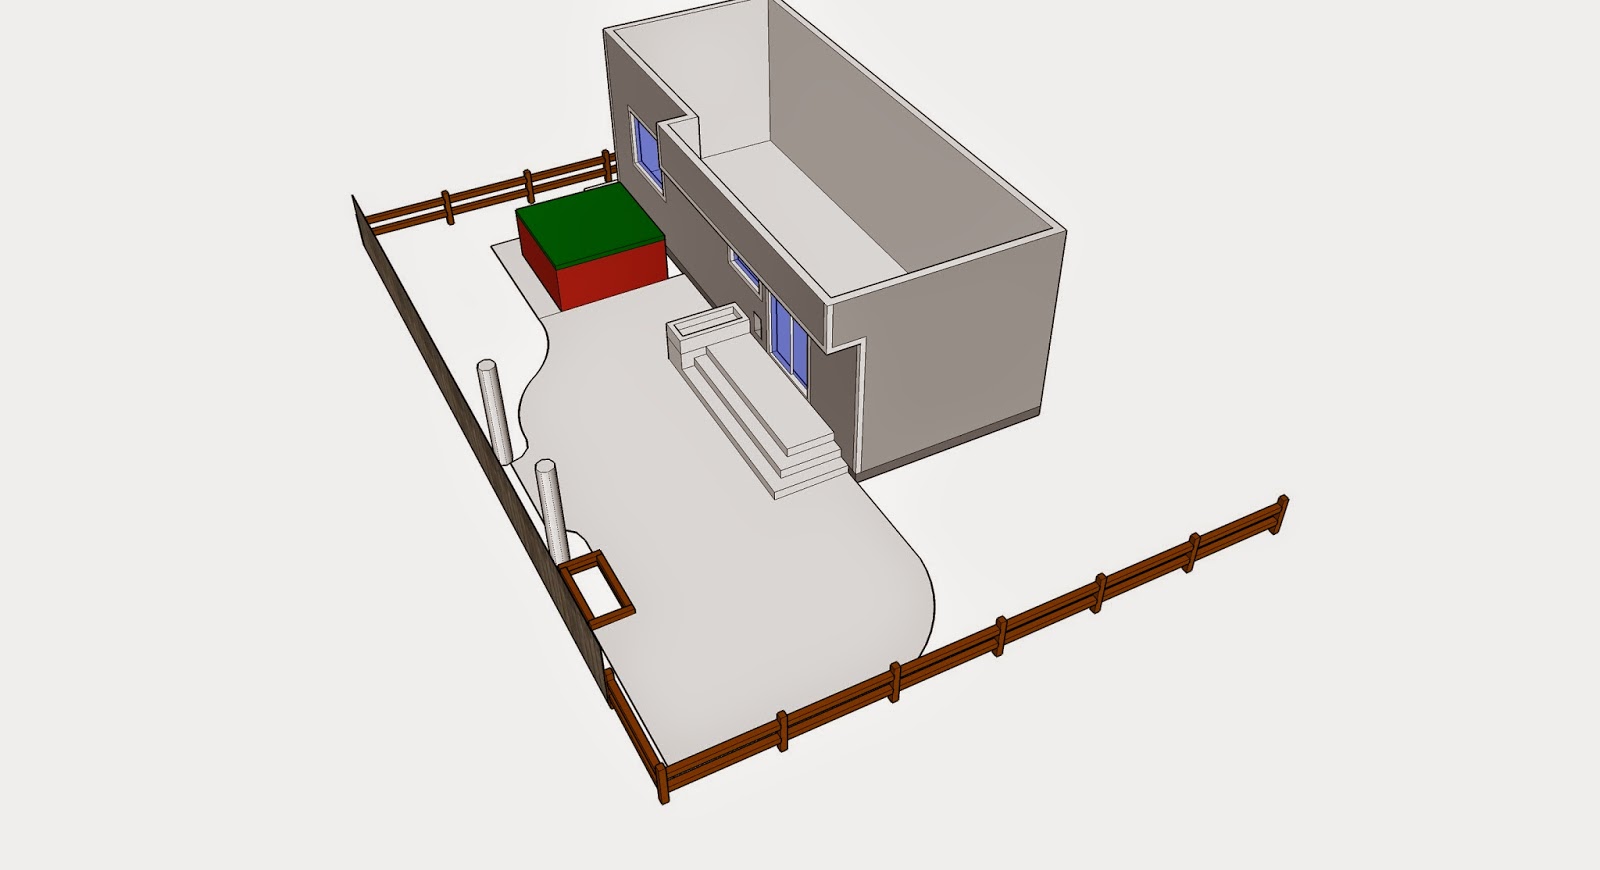
   Part two in our exciting saga follows our hero through the planning and early set up of the patio. I created a rough SketchUp model of what we wanted to do. 

SKP model

   This was kind of helpful, but what helped more was to lay out blocks to see the shape better. We could visualize the patio a lot better this way. 

Laying out the border

   I ended up digging up and disposing a lot of grass. It was weird because for the last year I have been trying to keep that grass alive. Well, it's dead now. Next I chose the final height of the patio. I chose something that was about 14" below the door. This way, with one step, the rise would be about 7" to get inside. 

String line

   I put out a bunch of pavers at the height the patio so. I went through about 300 yards of this pink string. I started in the North West corner of the yard. I dug out the base for the short wall that we'd need in the low parts of the yard.

Beginning the curve

   I ended up doing this curve twice because at first I wasn't happy with it. You can also see a trench where I buried a pipe. What for? you'll see later.

Completed curve

   After the curve was complete, I worked my way along the house Where you wouldn't see the foundation blocks, I used cinder blocks because they are cheaper and lighter. You can also see the beginning of the step out of the house.

Step

   Opposite the house I worked along the fence and around these two trees we have. This was a lot of work since it was two half circles. 

Around two trees

   Many trips to Home Depot were made for these blocks. They were about 45 pounds each, my car could carry about 15, and I used just over a hundred, so, yeah lots of back and forth. If you look carefully on the cart it says, "Do not overload. Do not ride."  We have no time for rules.

900 pounds of blocks and one kid

Monday, November 3, 2014

Patio Project Part 1 - Old Deck and New Condo

   This week I'm going to be posting every day, and it's going to be a project post! This summer, I re did our back yard. This was tearing out the old deck and putting in a paver patio.  Here is the fruit of my labor: 

Final product (and Max)

   First things first - tore out the existing deck. Here's what we had:

Existing deck

Existing deck part 2

   It was fine, but small and kind of falling apart. On the 4th of July, out it came. This project was made much easier with the use of a 36" crowbar and a sledgehammer. You'll notice the house is still yellow. We wanted to get the deck out so the new paint had good coverage.

Top layer off

   Everything came apart pretty well. the boards under the desk were pretty rough. This was going to have to happen sooner or later.

Semi rotted out structure

Just the planter box remaining

   The 4runner is the real hero in this project, from trips to the dump and hauling blocks from Home Depot.

1/3 of the deck at the dump

   Cue the interrupting project. Our tenants moved out of the condo and we decided to update the place a bit. Here are the After pics:

New Hearth

   New tile, carpet, fridge, cabinetry, and fireplace. It looks really nice now.

Backsplash and stove hood

   This was inconvenient timing, but turned out ok, as we were able to make some needed updates to the place and get some new tenants and they are awesome. Next post - the patio begins!

Friday, October 31, 2014

Friday WTF: Walmart Assembly

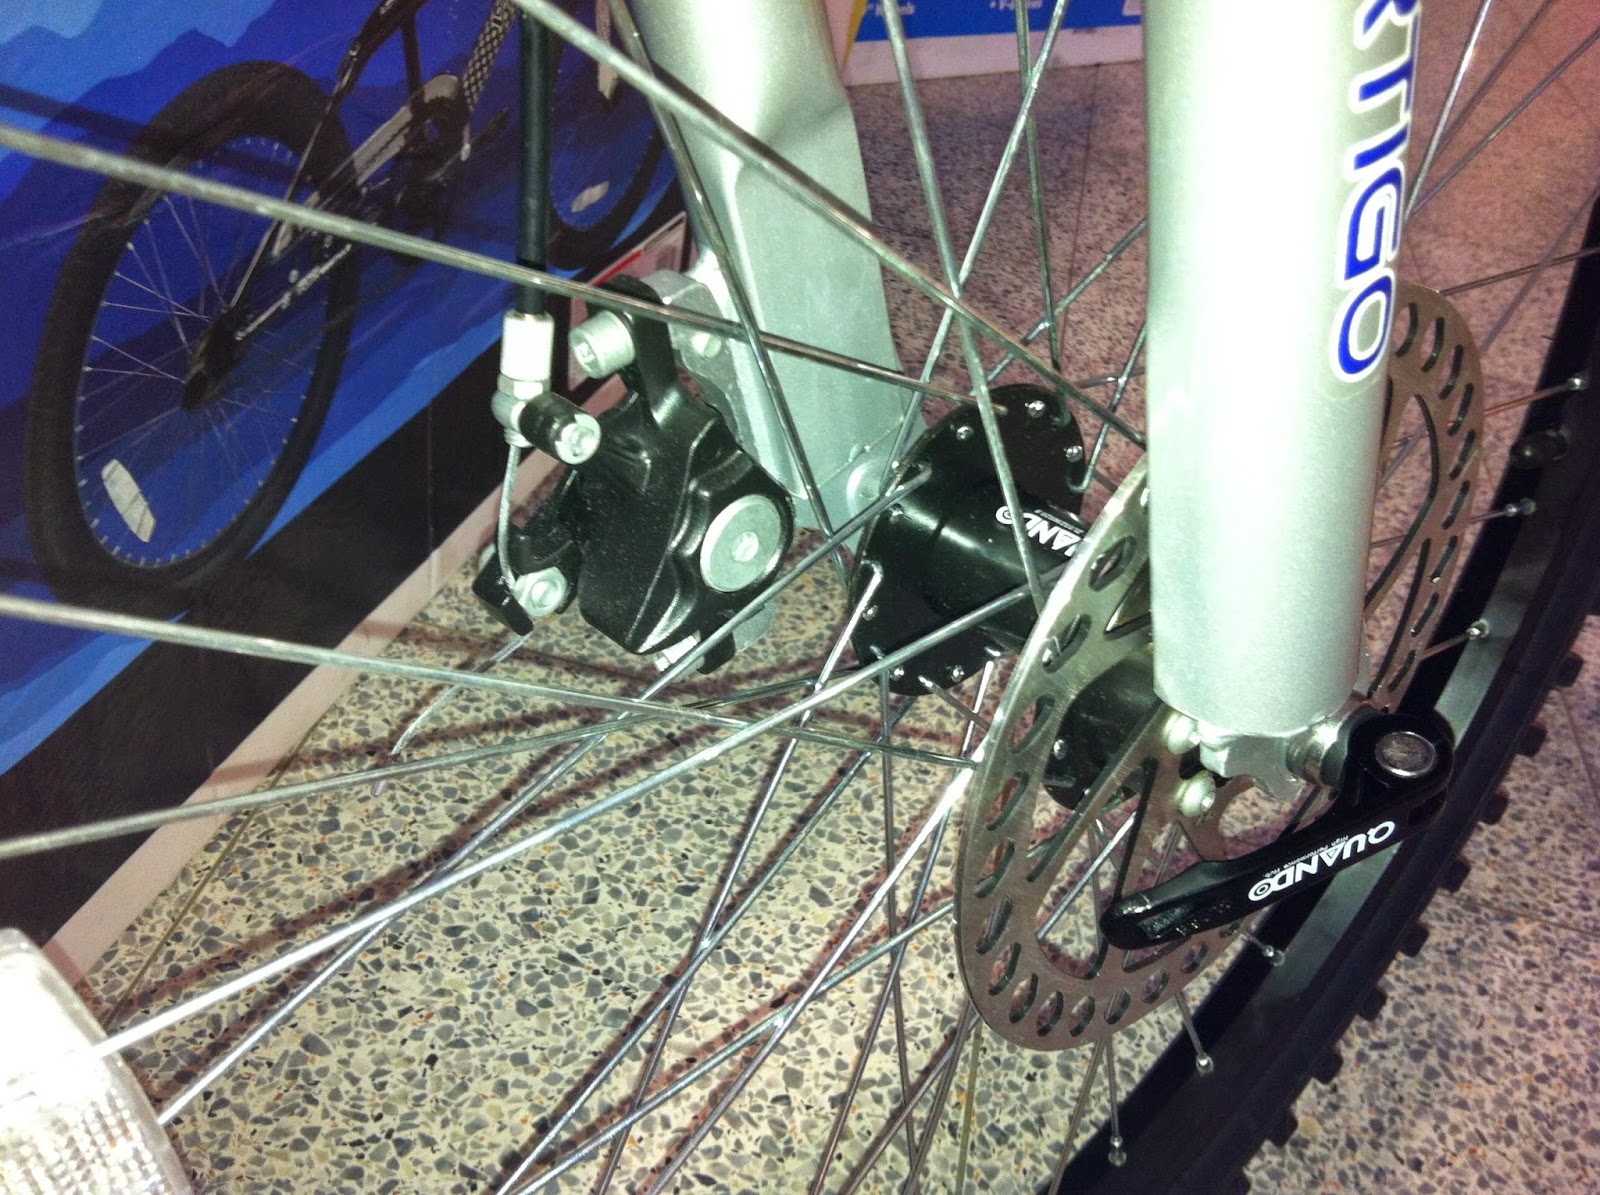
   No one is claiming that the folks working at a box store were ever properly trained on bicycle assembly, but here are some examples of particularly poor work in a little game of spot the problem:


A.

B.

C.

D.

A. Bars on backwards
B. Cranks on wrong
C. Fork on backwards
D. Wheel on backwards

   Nothing wrong with a bike form a box store, just give it the once over before taking it off any sweet jumps.