Hot on the heels of the headset rebuild, I'm going to keep the road bike tech tips going. If you're like me, strange noises coming from your bike are a cause for alarm. My rear hub has developed a loud whirring noise when coasting. Sounded like I was being chased by an old dog. This means the freehub body needs some TLC. This is how you service a Mavic freehub body. First, I watched this video. The guy goes through it very clearly.
Tools necessary:
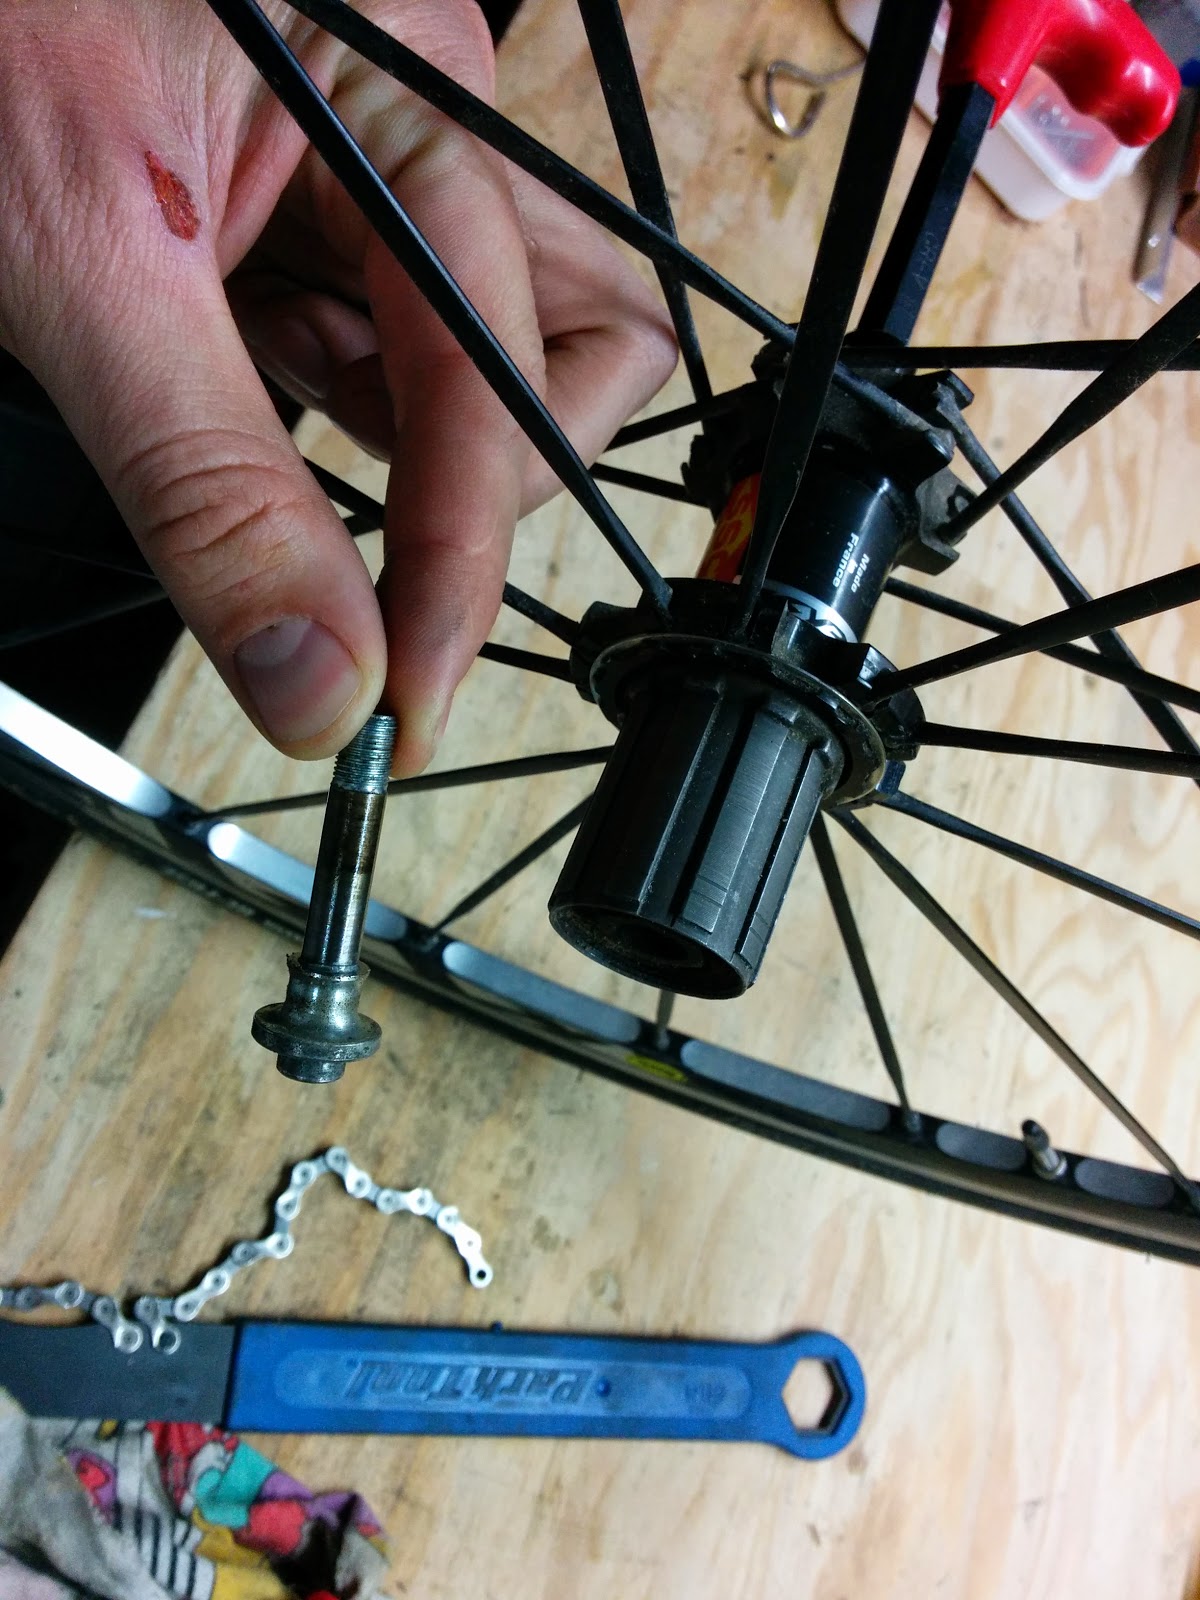
2. Remove axle - pop off the axle cap and set it aside. Using a 10mm wrench and a 5mm wrench, remove the axle. Set aside for cleaning.
3. Remove free hub body - be careful not to let the pawls shoot out, as they are spring loaded and under the free hub body.
4. Remove hardware - remove the pawls, top washer and rubber seal.
Take care when removing the rubber seal not to damage it.
5. Clean hub - using isopropyl alcohol and some Q-tips, thoroughly clean the hub. Dig deep into the hub to get all grit out. This grit will wear the hub and cause eventual failure.
6. Clean hub parts - using a isopropyl alcohol and a paper towel, thoroughly clean and dry all hub parts. No part of the hub gets reassembled without being cleaned.
7. Lubricate the hub - place the pawls back on the hub. Put a few drops of mineral oil on the pawls and lower surface of the hub. You don't need to soak the hub, but get adequate coverage.
8. Put the rest of the free hub together - reassembly is the reverse of disassembly: Rubber seal, Pawls, washer, free hub body. Tighten the (cleaned) axle snug. It doesn't have to be balls ass tight.
9. Clean the cassette - spray the cassette with a solvent (WD-40 or something) and thoroughly wipe free of dirt and grease.
10. Install cassette - once the cassette is installed you should feel much less play and hear no more howling noised when coasting.
Your cassette is now clean of road grit and ready for many quiet miles ahead.
Tools necessary:
- Chain whip
- Cassette removal tool
- 5mm and 10mm wrench
- Isopropyl Alcohol
- Q-Tips
- Mineral oil (different hubs call for different lubricant)
- Degreaser (like WD-40)
Chain whip and cassette removal tool
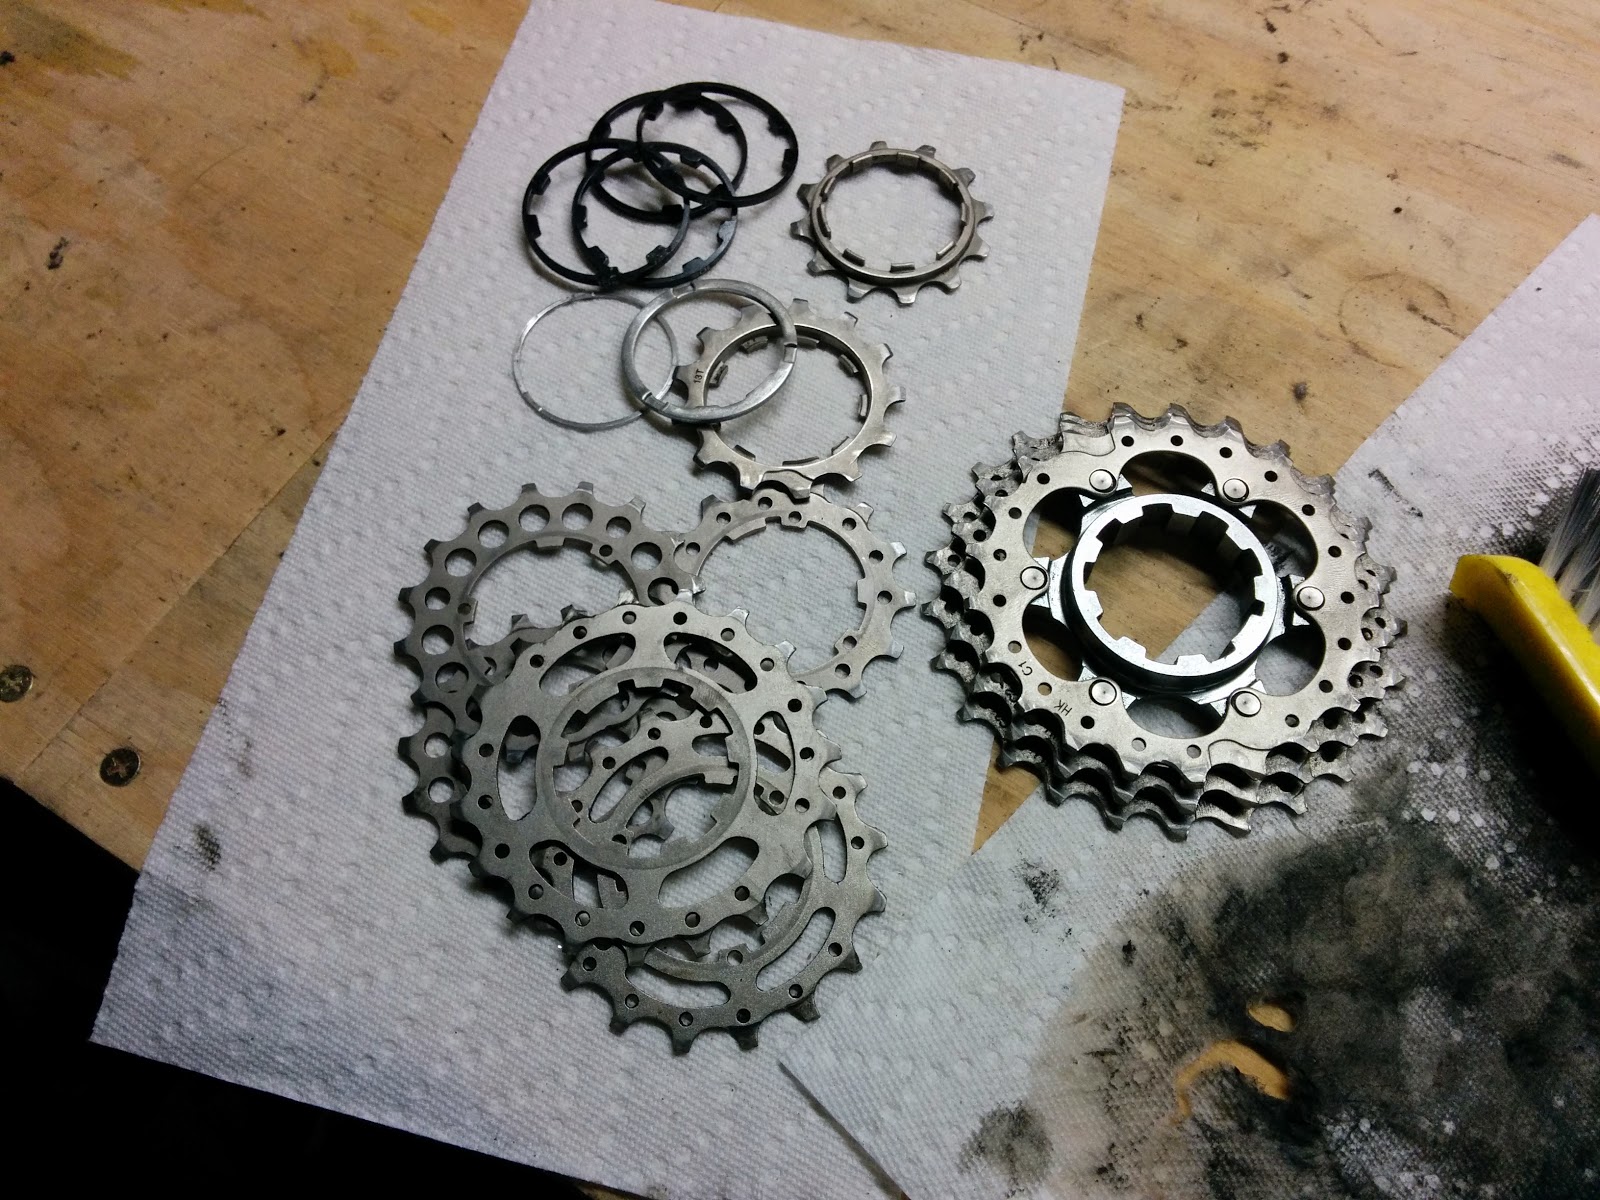
Dirty cassette!
Don't lose the spacers under the cassette!
Cassette spacers
2. Remove axle - pop off the axle cap and set it aside. Using a 10mm wrench and a 5mm wrench, remove the axle. Set aside for cleaning.
Axle cap
Tools inserted
Drive side axle removed
Non drive side axle removed
3. Remove free hub body - be careful not to let the pawls shoot out, as they are spring loaded and under the free hub body.
Free hub body off
4. Remove hardware - remove the pawls, top washer and rubber seal.
One of two pawls
Top washer (Don't lose!)
Take care when removing the rubber seal not to damage it.
Seal removed
5. Clean hub - using isopropyl alcohol and some Q-tips, thoroughly clean the hub. Dig deep into the hub to get all grit out. This grit will wear the hub and cause eventual failure.
Cleaning hub
Hub gunk
6. Clean hub parts - using a isopropyl alcohol and a paper towel, thoroughly clean and dry all hub parts. No part of the hub gets reassembled without being cleaned.
Clean hub parts
9. Clean the cassette - spray the cassette with a solvent (WD-40 or something) and thoroughly wipe free of dirt and grease.
10. Install cassette - once the cassette is installed you should feel much less play and hear no more howling noised when coasting.
Your cassette is now clean of road grit and ready for many quiet miles ahead.


No comments:
Post a Comment