Part two in our exciting saga follows our hero through the planning and early set up of the patio. I created a rough SketchUp model of what we wanted to do.
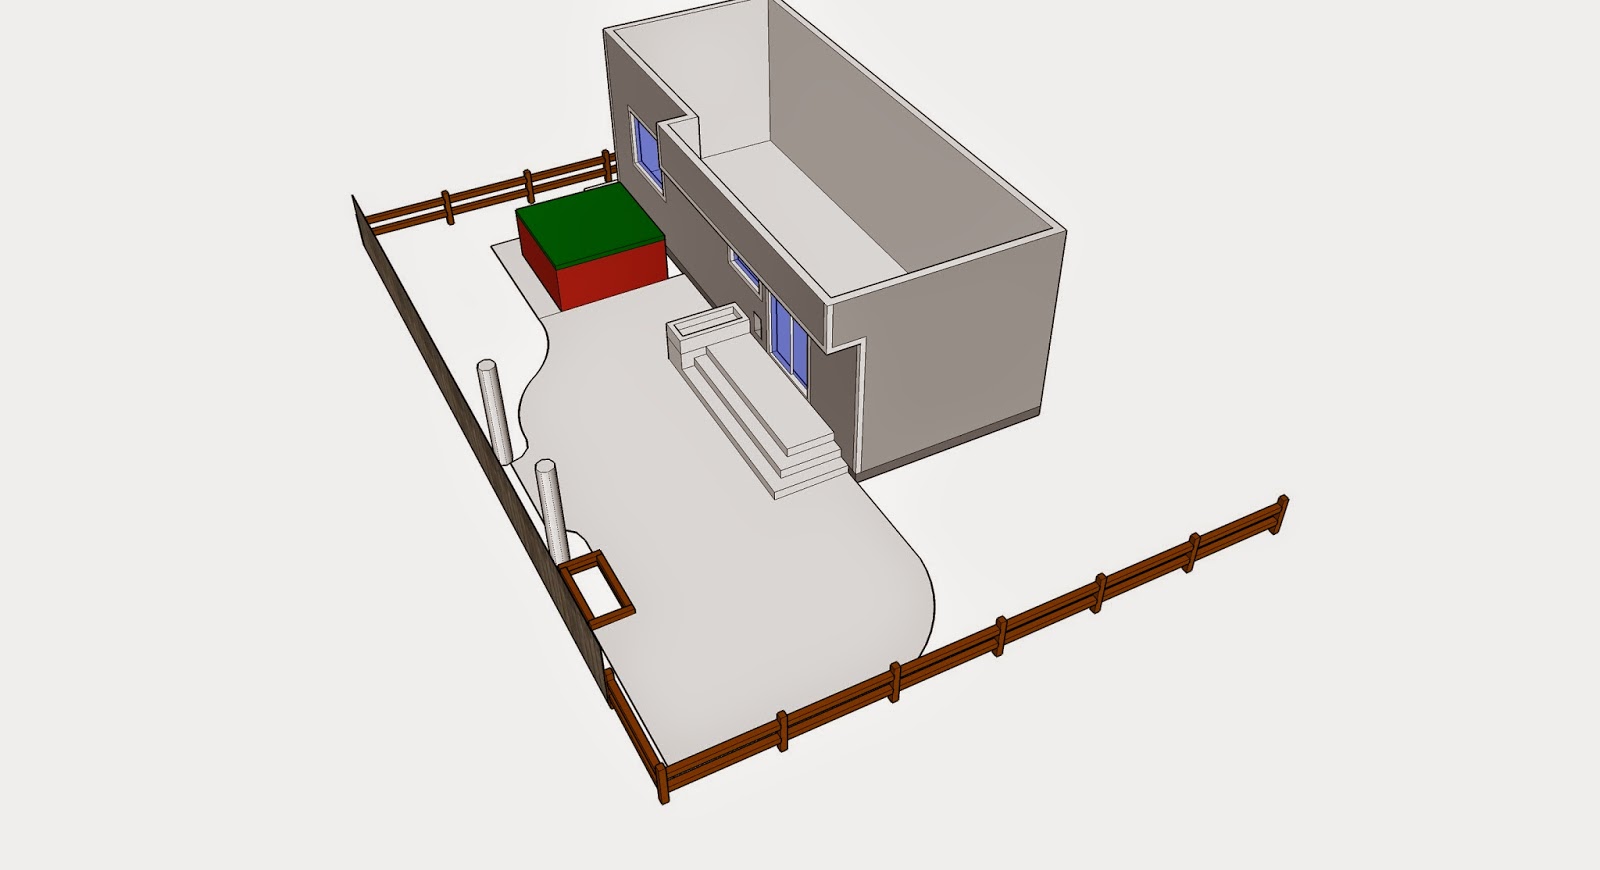
SKP model
This was kind of helpful, but what helped more was to lay out blocks to see the shape better. We could visualize the patio a lot better this way.

Laying out the border
I ended up digging up and disposing a lot of grass. It was weird because for the last year I have been trying to keep that grass alive. Well, it's dead now. Next I chose the final height of the patio. I chose something that was about 14" below the door. This way, with one step, the rise would be about 7" to get inside.

String line

Beginning the curve
I ended up doing this curve twice because at first I wasn't happy with it. You can also see a trench where I buried a pipe. What for? you'll see later.

Completed curve
After the curve was complete, I worked my way along the house Where you wouldn't see the foundation blocks, I used cinder blocks because they are cheaper and lighter. You can also see the beginning of the step out of the house.

Step
Opposite the house I worked along the fence and around these two trees we have. This was a lot of work since it was two half circles.

Around two trees

900 pounds of blocks and one kid
No comments:
Post a Comment